Do you want to know the how to test your Motherboard with a Multimeter? You are on the right spot to know the answer of this query.
Motherboard is to computers what brain is to humans. They are the primary components of an electronic processing system loaded with multitude of tasks including the CPU performance, memory processing, and many more.
If the motherboard isn’t working up to the mark, your entire system might be at risk of complete organ failure as we know it. To make your motherboard work at its best, the resistors, memory lanes, chipsets, capacitors, and the many other elements must be functioning at their best.
Read Also: Best B350 Motherboard
The primary warning signs before a complete system failure include warning beep and sounds, computer slowdowns, blue screen of death, or sometimes the complete system breakdown.
There could be many reasons for motherboard malfunctioning, the primary being capacitor bloating, memory module failures, ports, and HDMI backfires etc. if you aren’t sure which component is causing the collapse.

Let’s try sorting the problem at home with a multimeter. Here’s how you can test the motherboard with a multimeter easily without needing a technician.
Table of Contents
How to Test Your Motherboard with a Multimeter?
How to test a motherboard with a multimeter? No doubt, motherboards are overly complex to test, let alone understand them. The extremely difficult structure of motherboards makes them one of the most challenging computer components to test or repair.
The best way to check a motherboard for errors is to identify the underlying symptoms that are triggering the breakdowns.
Read More: Best Motherboard for Ryzen 7 2700X
The most common reasons that cause motherboard failures include overheating, blue screen of death, incompatible drive installations, beeps and tones, and scorched capacitors.
Reasons why Motherboards Fail?
There can be several reasons why motherboards fail. To know if the motherboard is not working at its best, look for any parts that overheat when the system turns on.
If you have a laptop, the overheating can easily be noticed by sensing the lower portion of the laptop with bare hands. For desktops, overheating can be determined by noticing unusual fan noises.
To confirm any componential damage, strip the outer casing and turn on the system to look for the component that is causing the problem.
Motherboard errors also happen when you install an incompatible drive or device to it. If you have installed an alien video card or hard drive, the computer will most likely enter the BIOS menu to display the compatibility errors.
To diagnose the problem, remove any recent hardware or software you have installed in the system and recheck if the problem persists.
Blue screen errors are another familiar sign when an element or group of components fail to function properly. However, the Blue Screen of Death (BSoD) doesn’t necessarily indicate motherboard components’ failure.
There could be multivariate reasons for this screen to pop up. If you are unsure about the problem, copy the error code and look up on the internet for solution.
There might be situations amid component malfunction when the capacitors start melting and emit bad odours. When noticed, shut down the system immediately and look for the burnt materials inside the motherboard.
It is also important to never replace the elements all by yourself. Instead consult a professional technician to avoid any mishap later.
Component overheating is generally caused by misfit hardware device installation on the system. This dissipates more heat when trying to run the system and damages the motherboard.

Indications that the Motherboard is about to Fail
The simplest way to determine the impending motherboard failure is to note down the booting time i.e., the time it takes for a motherboard to start/boot, or the software installation shows errors or stop working after a few minutes, or the motherboard fails to load all the system devices at powers on self-test (POST) mode.
Read More: Best Motherboard for i7 8700K
If your computer doesn’t self-start or takes an eternity to power on, know that it is experiencing malfunction and necessitates a repair.
Methods to Test the Motherboard
If your device is overly heated, the problem might be with the motherboard. To diagnose the problem, open the laptop or PC casing with a screwdriver and look for any lint or dust accumulated on the fans or other cooling components inside.
If the dust is too harsh to remove by hand, try blowing it out with air pressure. Any standard hair dryer could be used to perform the task.
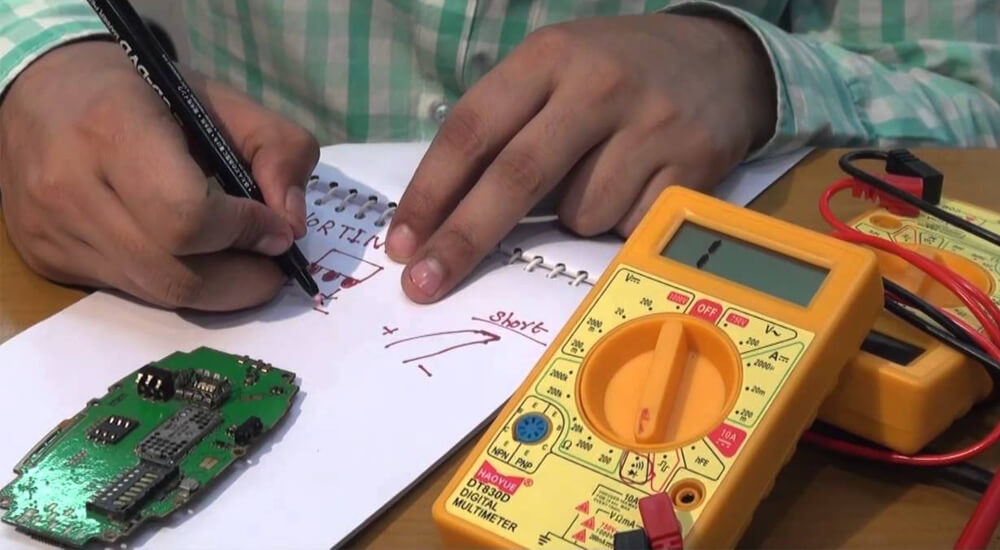
If it’s not overheating, the motherboard must have shorted out. Short circuits happen when the external casing touches the internal circuitry. In some cases, moisture gathers around the motherboard elements and result in short circuits.
If the motherboard gets short, try removing the moisture with a blower fan and make sure that the internal components do not get attached with the external casing. Keep a safe gap between motherboard and the connecting screws to avoid short circuits.
Whenever a PC or laptop boots, the Power-On-Self-Test mode automatically turns on. POST mode is an indicator that everything inside the PC is working fine.
If the POST is not happening properly or an additional screen pops up after booting, the motherboard might be the issue.
Sometimes, the warning beeps indicate system malfunction. When the systems boot up, a second-long beep follows indicating an issue in the software or hardware components of the PC or laptop. If your system beeps for a second after booting, the problem could be with the motherboard.
How to Check Motherboard via PSU
Power supply unit or PSU is an important component in PCs and laptops. They are the key energy sources and require constant rated power to run properly.
Read More: Best Motherboard for i7 7700K
Sometimes PSUs function below the rated voltage, which result in insufficient energy provision to the system and compromises various functions of the PC or laptop, including the motherboard.
When looking for impurities, always check the PSU if it is providing sufficient energy to the system, and load is optimized to the voltage drawn by thy PSU.
To check the PSU, turn on the system and look for PSU if it turns on along with it. If not, your motherboard is malfunctioning because of the insufficient voltage being drawn by the PSU.

If you have a laptop, plug it directly to the power source and observe if the PSU has turned on. To check the rated voltage of the PSU, place your multimeter on both the terminals of the power supply unit and look for the voltage it draws when the system is turned on.
If the voltage is drawn perfectly, the problem may lie in some other circuitry. If the displayed voltage on the multimeter is below the rated capacity, it’s time to replace the PSU.
How to Manually Test the Motherboard for Errors?
Manual testing is the foremost thing to do if the PC is behaving abnormally. For this task, remove the screws from the outer panel and expose the motherboard to look for any blown circuits or damaged parts.
Mostly, the capacitors get blown away if the power source isn’t providing enough energy to the loaded circuitry of your PC or laptop.
Else, look for any blown or bloated capacitors. Also observe any possible circuit burns in the motherboard and surrounding circuitry.
If everything is performing fine, have a look on fans and the capacitors surrounding them to check if they are functioning properly.
Inside the motherboard circuitry, there are also a few LEDs that blink to indicate that the surrounding hardware is working at its best.
Read More: Best 140mm Case Fan
If you notice any LED lights that are turned off, the problem might be there. Some motherboards have dedicated LEDs for each set of components, with green light indicating a healthy operation and the red-light displays that there might be problems in the board.
How to Test a Motherboard with a Multimeter?
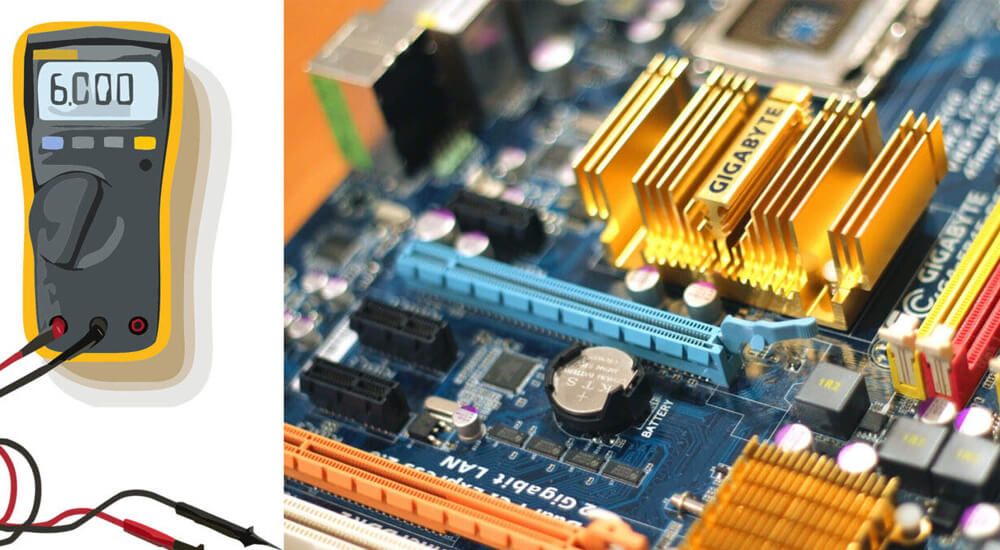
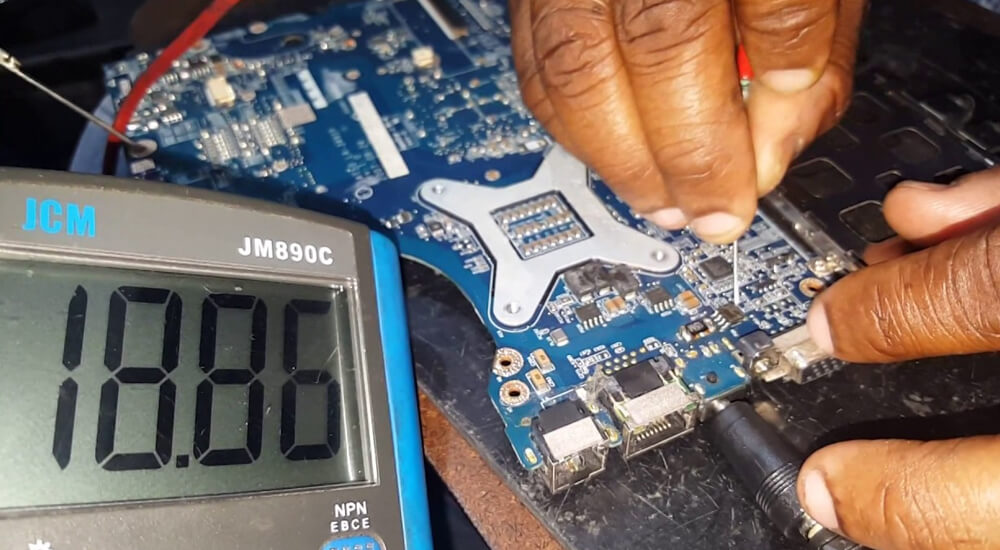
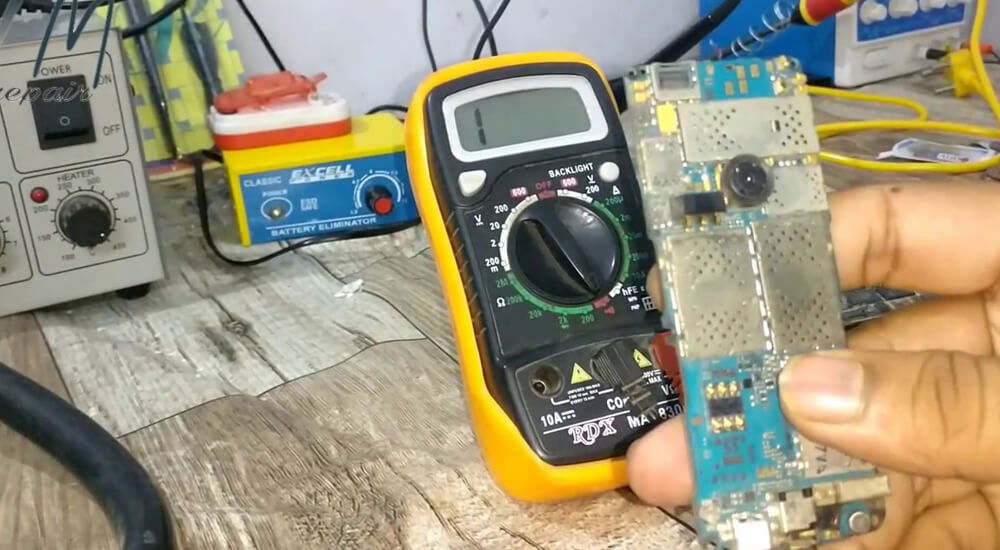
To check critical components of motherboards, a multimeter comes quite handier for all-purpose testing i.e., determining AC and DC voltages, resistances, currents, capacitance and more.
To check if the PC or laptop is short circuited, turn off your system and wait for the system to cool off for a few minutes before performing the AC voltage test. Turn on the multimeter now and set its ratings to AC Voltage with minimum resistance settings selected from the dial.
Now make sure to remove the ATX power connector and PSU from the system to start testing the AC voltage.
Place the black cable (for neutral or grounding) on the external casing to complete the circuit while placing the red probe key on various connecting pins coming to the motherboard.
With each circuit completion, the multimeter will display voltage readings which indicate that the elements are performing correctly. If any component displays lower than rated voltage, it indicates that the said component has malfunctioned.

To check DC voltages, place the dial on 20V DC setting and connect the 24-pin ATX power connector into the motherboard. Keep the PC or laptop turned off and start placing the red probe to pin 9 and then pin 16.
The DC voltage for pin 9 must read 5V DC and for pin 16, the reading must be between 3-5 volts when the PC is turned off.
Now turn on the PC or laptop and note the readings by placing red and black probes on pins 5 and 16. If the reading indicates zero voltage, the motherboard is working fine. Otherwise, it needs to be repaired or replaced.
How to Repair Motherboard at Home?
Unfortunately, there are multiple risks involved when repairing motherboards all by yourself. It is not advisable to repair motherboards at home. Only the professional technicians will be able to repair damaged motherboards.

Faizan Ali is a Master in Computer Sciences and has been writing content for computing, gaming and mobile technologies since 2016. He has written content for number of online magazines, websites and blogs and now writes for “the buyers trend”. Feel free to contact him for any sort of writing for your technology related blog, website or magazine.